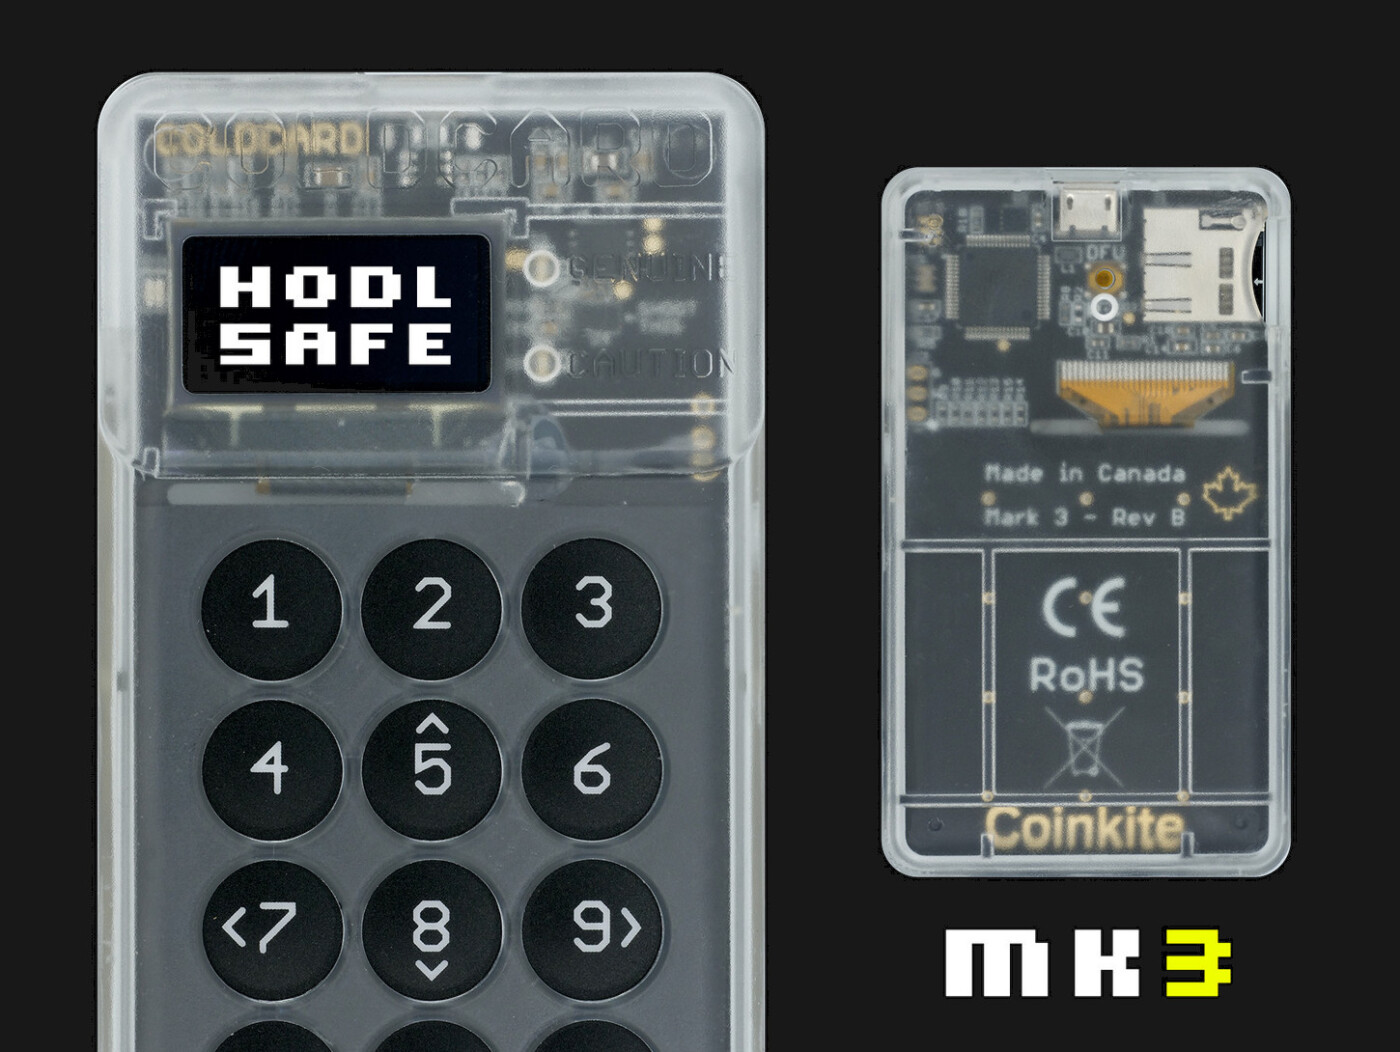
Set up the Coldcard wallet

Parts
You’ll also need a computer, scissors, a notepad, a pen, and dice.
Power-up Coldcard and set PIN
- Check the bag for any tampering
- Open the bag (you’re gonna need scissors)
- Inspect the device
- Connect the Coldcard to the Coldpower using the MicroUSB to USB cable and the 9V Battery
- Scroll down to accept the terms of service
- Compare the serial number on the screen, with the serial number on the bag. Make sure they match. It’s an added precaution to make sure the device wasn’t swapped out
- Set your PIN code. The PIN code will be split in two parts, the prefix and suffix. It’s split in two parts to protect you from phishing attacks by displaying two phishing words in between when you enter the prefix, and the suffix. The anti-phishing words are unique to your device. Write down your PIN and the 2 words.
- The Coldcard will ask you to verify the PIN. It will also show you the two phishing words, make sure they match the words you wrote down.
Upgrade the firmware
Compare the current firmware version on your Coldcard Advanced -> Upgrade -> Show Version, against the latest version to determine if it needs to be upgraded.
If you need to upgrade proceed with the upgrade steps below, if not, you can skip to create a wallet.
- Download the latest version of the Coldcard firmware
- Verify download signature
- The release binaries may be verified using this signature.txt file.
- Run the following commands
curl https://keyserver.ubuntu.com/pks/lookup?op=get&search=0xA3A31BAD5A2A5B10 | gpg --import gpg --verify signatures.txt - The first command imports the public key 4589779ADFC14F3327534EA8A3A31BAD5A2A5B10 and the second verifies the file’s signature vs. file contents.
- Don’t forget to run SHA256 over the DFU files themselves, because that compares the actual file contents to what we have signed
shasum -a 256 2020-08-06T1722-v3.1.9-coldcard.dfu
- Save the 20…-coldcard.dfu firmware file onto a SD card
- Power up your Coldcard and unlock it with your PIN
- Go to the
Advanced->Upgrademenu and click onFrom MicroSD - Pick the firmware from the MicroSD
- After the confirmation dialog, Coldcard will upgrade and reboot (slow)
- Type in your PIN again to unlock
- Verify new version running with:
Advanced->Upgrade->Show Version - If you powered down during this process, to get a green light again, you may need to use: Bless Firmware in that menu
Create a new wallet
- Create new wallet
- Press
4to use dice rolls - Roll the dice as many times as you want. I recommend you do it at least 21 times. This will add entropy to the seed generation process. Verify dice roll math
- Write down the 24-word seed phrase
- Verify that the seed phrase you wrote matches the Coldcard
- The Coldcard will now run through a random verification of words from your seed phrase
- Congrats, you’ve got a new wallet
Create a digital backup on SD card
Advanced->Backup->Backup System-> PressOK- The Coldcard will give you a 12-word seed for your backup. This is different than the 24-word seed for your wallet. The 12-word seed protects the backup file on your SD card. Write it down
- The Coldcard will ask you to confirm the seed words for the backup
- Now you have a backup of your Coldcard on your SD card. It is encrypted and protected by the 12-word seed
Etch your seeds onto Seedplates
I recommend that you etch both your 24-word wallet seed, as well as your 12-word backup seed onto a seedplate each. Place them in a safe and secure place, and shred the paper that you used for notes.
Be sure to have a system that ensures you won’t lose or misplace your seeds. Someone can steal your funds if they get your 24-word seed, or you could lose access to your bitcoin if you misplace your seed.
I recommend you keep your Coldcard backup offline, on the SD card. Store the SD card in a safe and secure place. Store the 12-word backup seed separate from the backup.