Stacking sats with Strike and BlueWallet
Strike is a game changer on so many levels, including stacking sats.

When Strike launched, I was intrigued. It claimed to make regular bank accounts speak Bitcoin. The concept did not click right away for me. I downloaded the beta, set-up my account, and secured my name. I was excited but didn’t quite know how magical this concept was, yet.
I kept exploring the simple and elegant UI. Sleek — deposit, withdraw, send, and receive. Straight to the point. It wasn’t until I hit “Send” that it all made sense.
So you’re telling me I can pay a Bitcoin invoice with fiat!?
Turns out that’s exactly what Strike is telling me. So I made myself a Bitcoin invoice using BlueWallet, deposited some fiat into Strike, scanned the QR code and voila — I converted fiat into bitcoin — just. like. that.
This step-by-step uses Bitcoin on-chain. Strike only charges the regular Bitcoin network fee for the transaction. Strike also supports Lightning — and it’s free of charge if you go that route!
I use BlueWallet on iOS for this demo. You can use your Bitcoin wallet of choice.
1. Download strike.
The first step is to download strike and set-up your account. The sign-up process is a breeze.
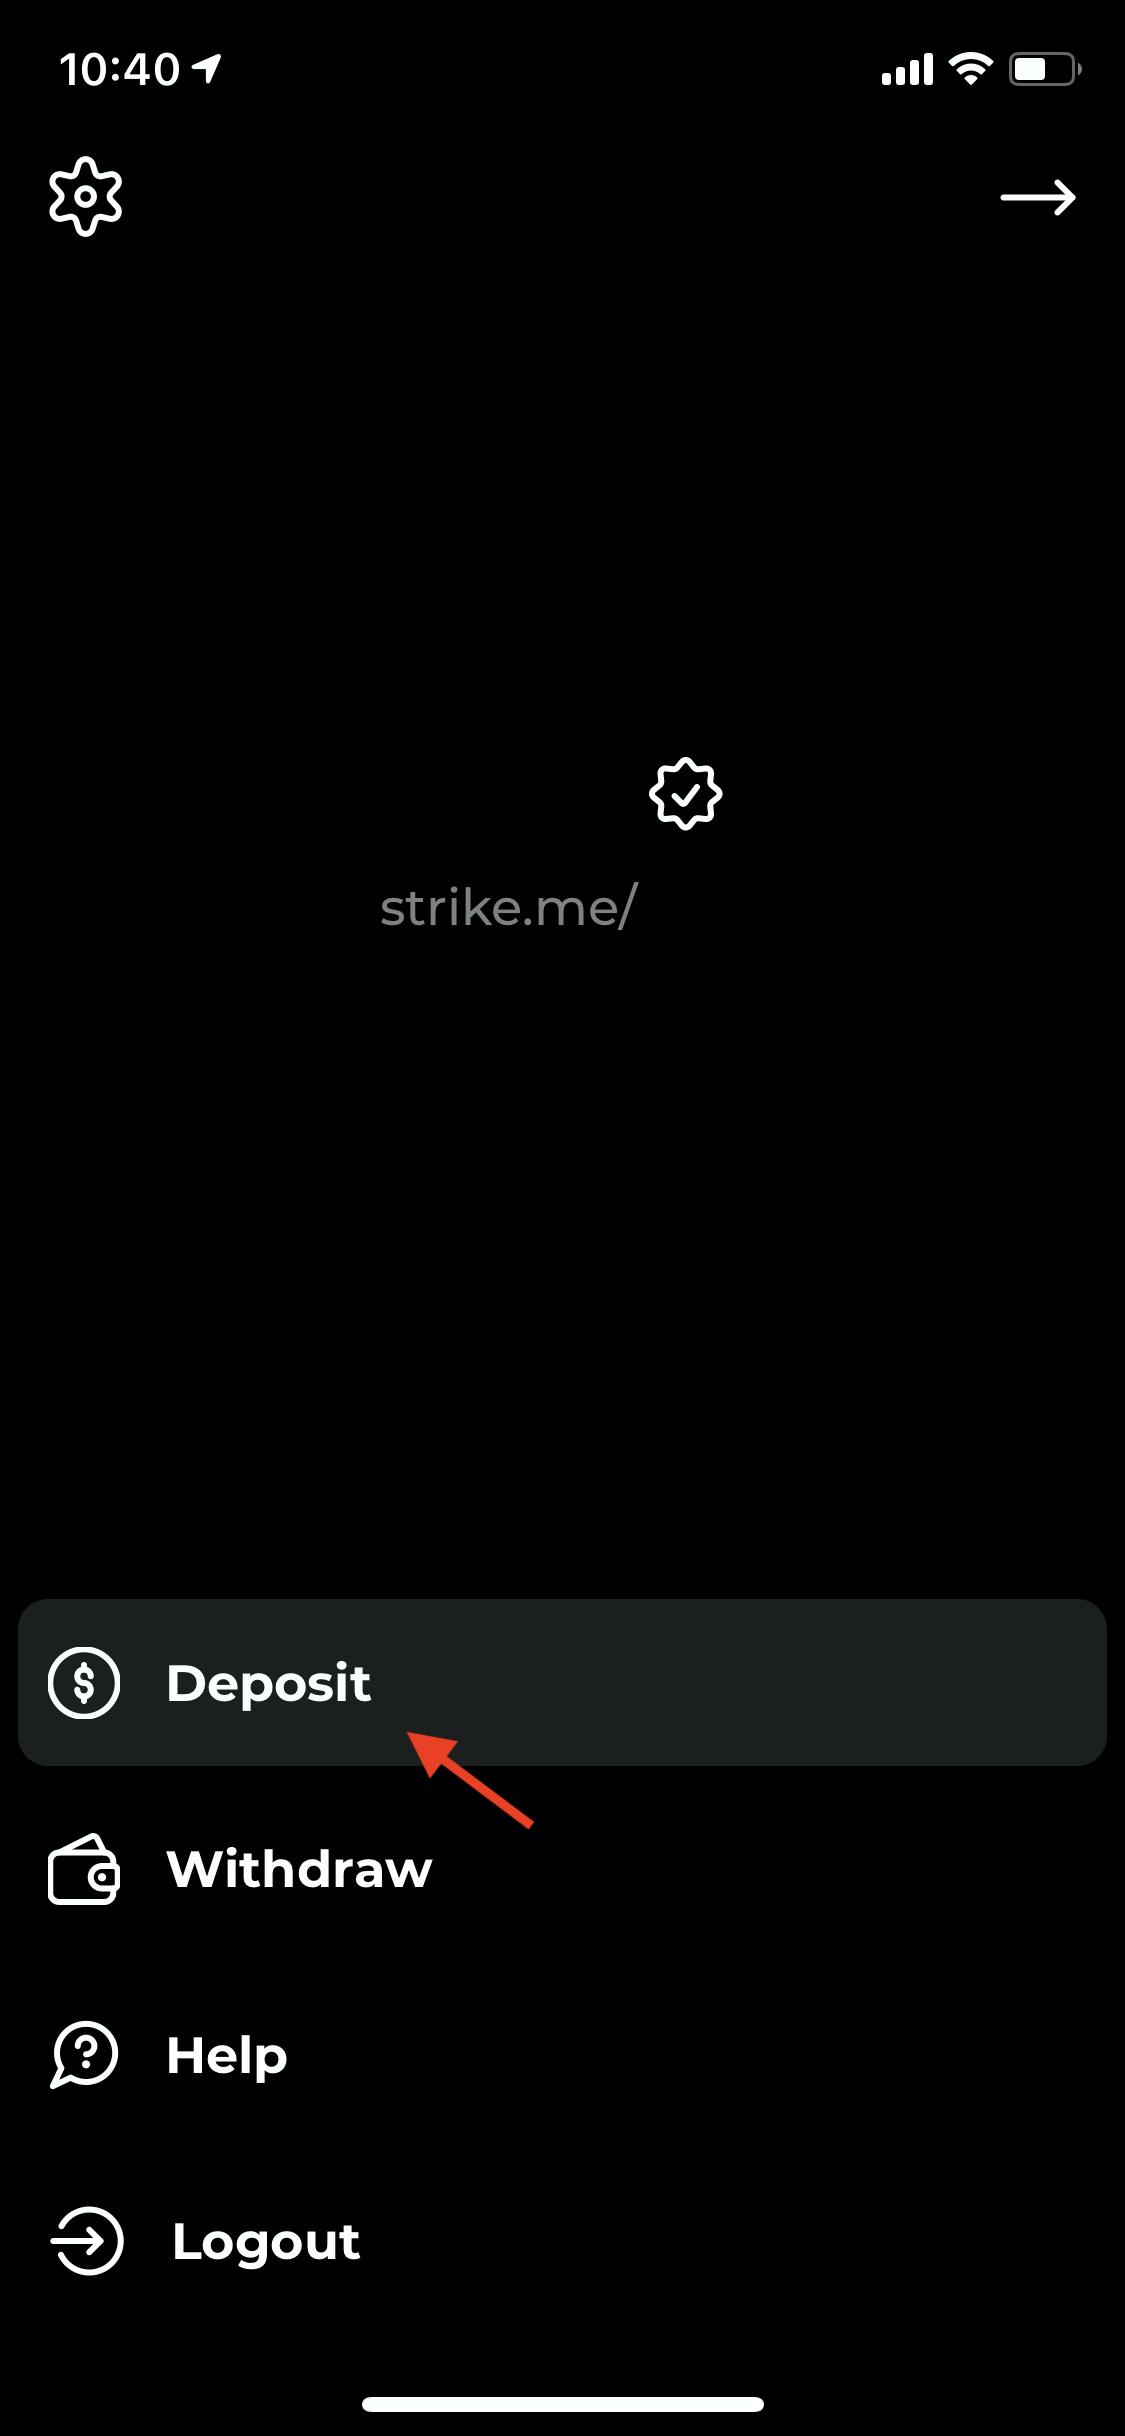
2. Deposit fiat into Strike.
Deposit the amount that you plan to use, plus a few extra bucks to cover the Bitcoin network fee. Strike will do the calculations and let you know if you have enough funds to cover the costs.
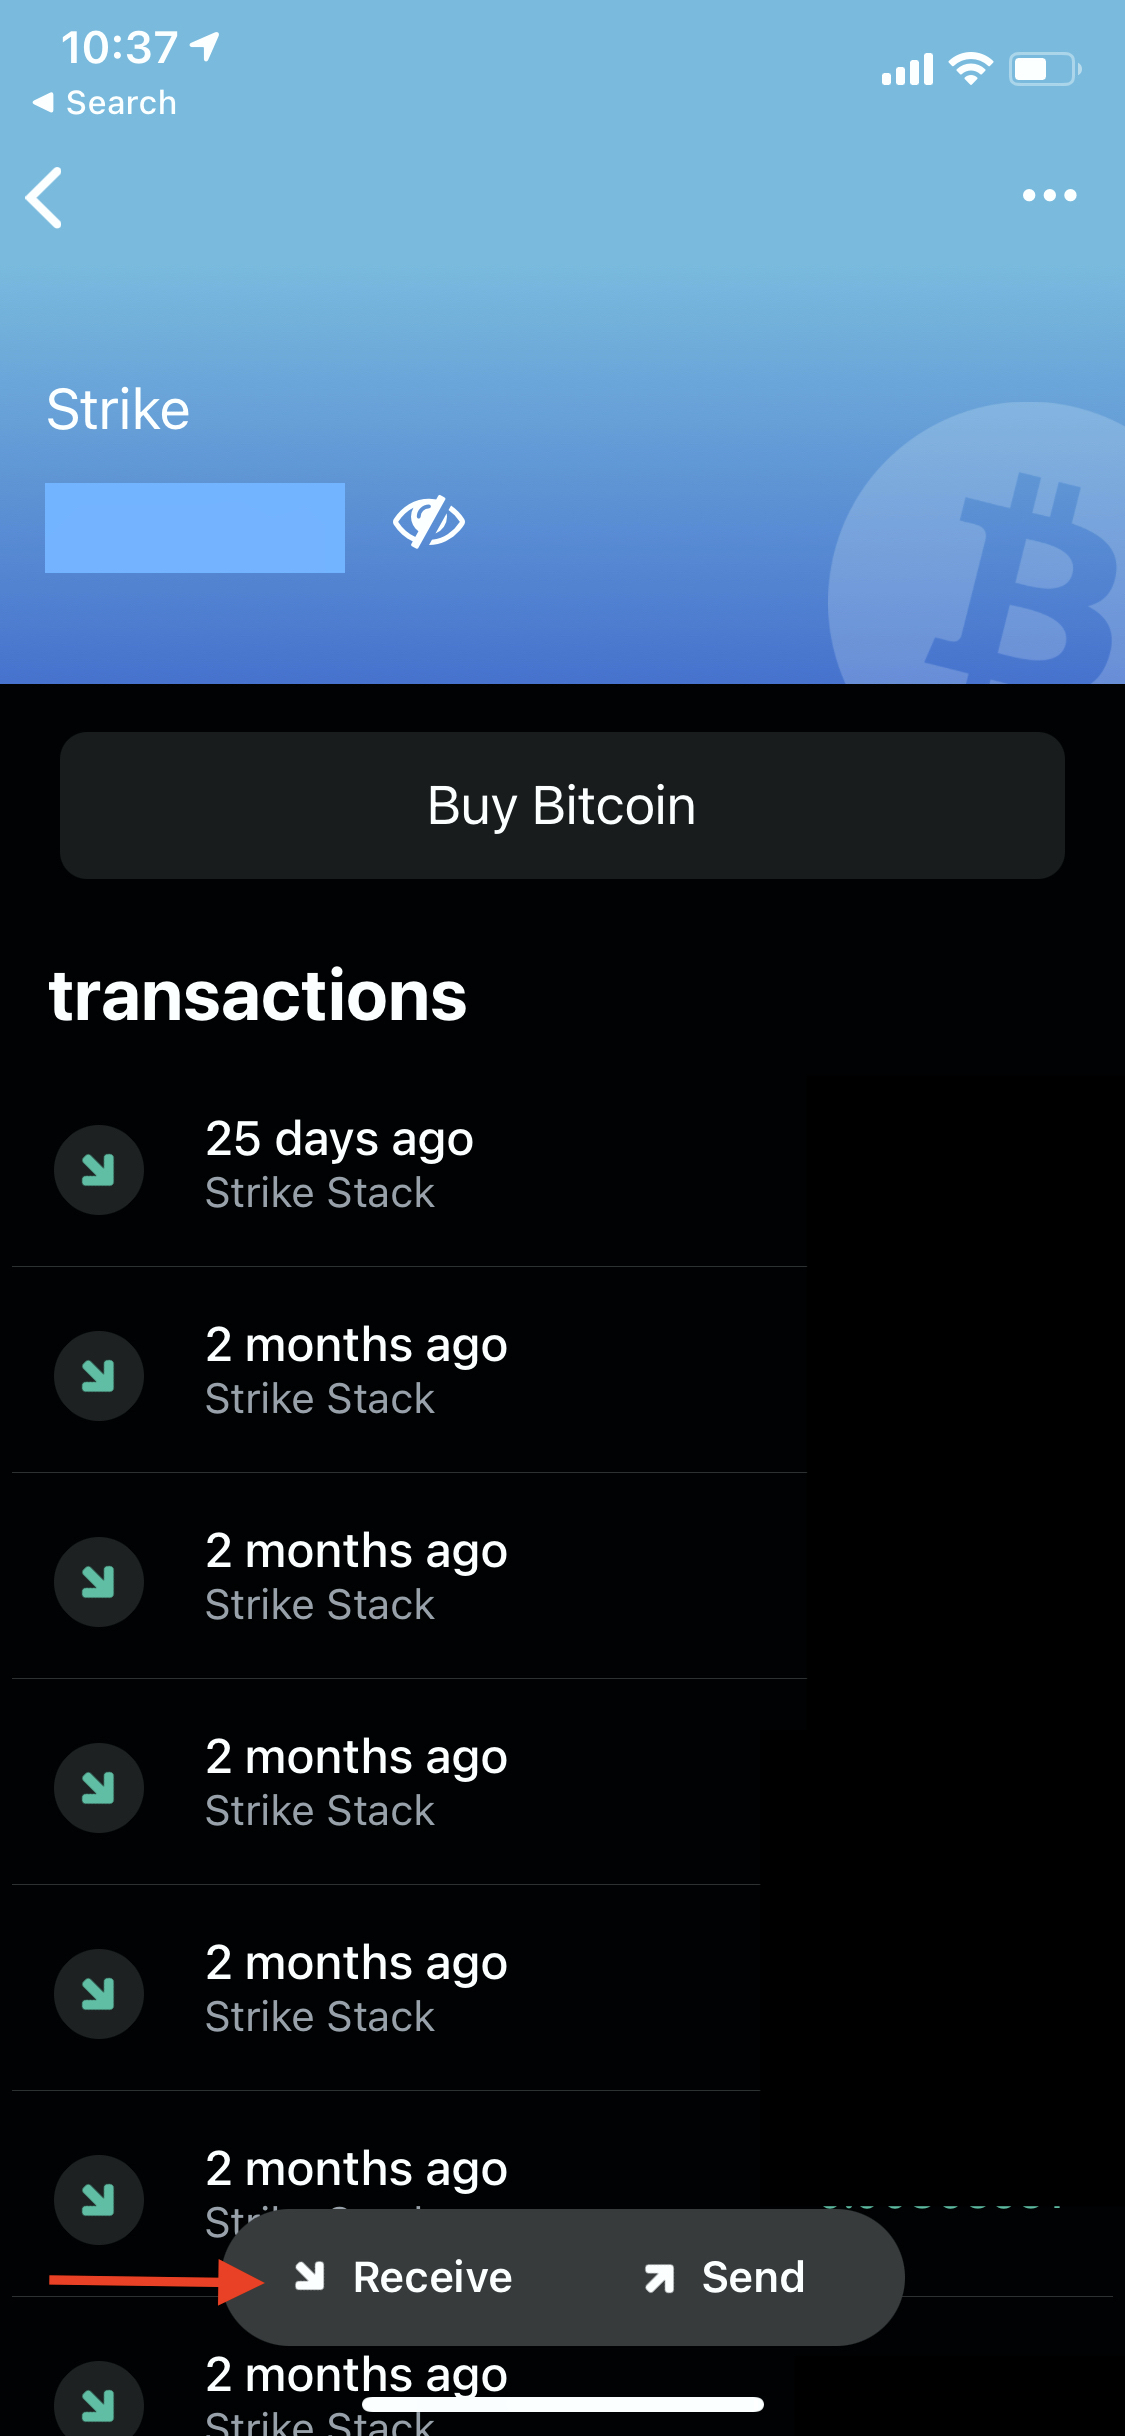
 #### **3.** Open BlueWallet to receive bitcoin.
I like to create dedicated wallets for specific purposes. For instance, I have a "Strike" wallet that I use exclusively for my "Strike Stacks".
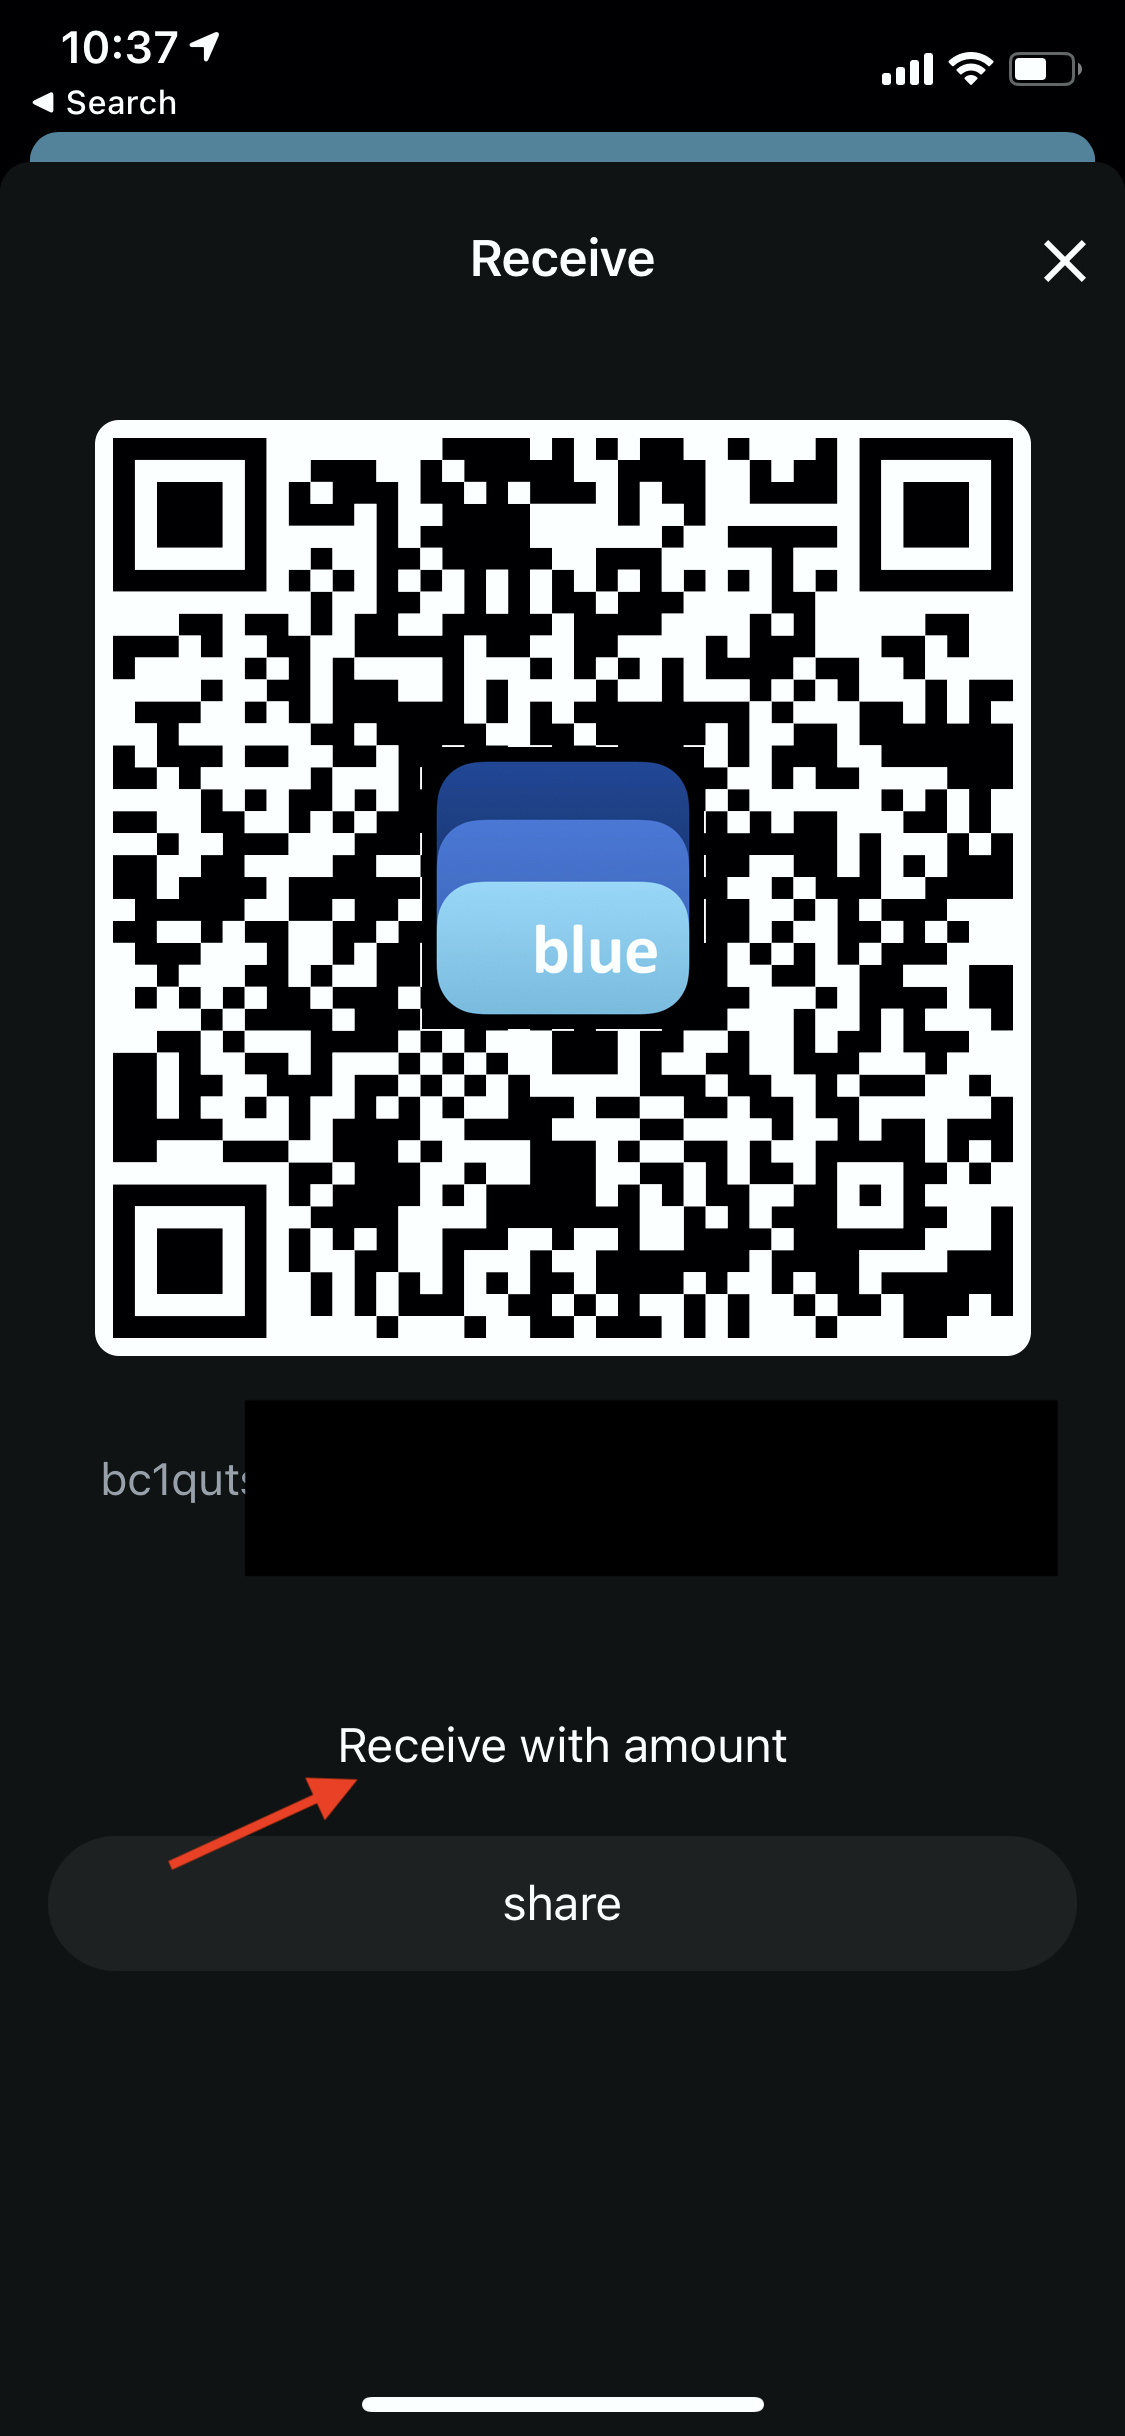
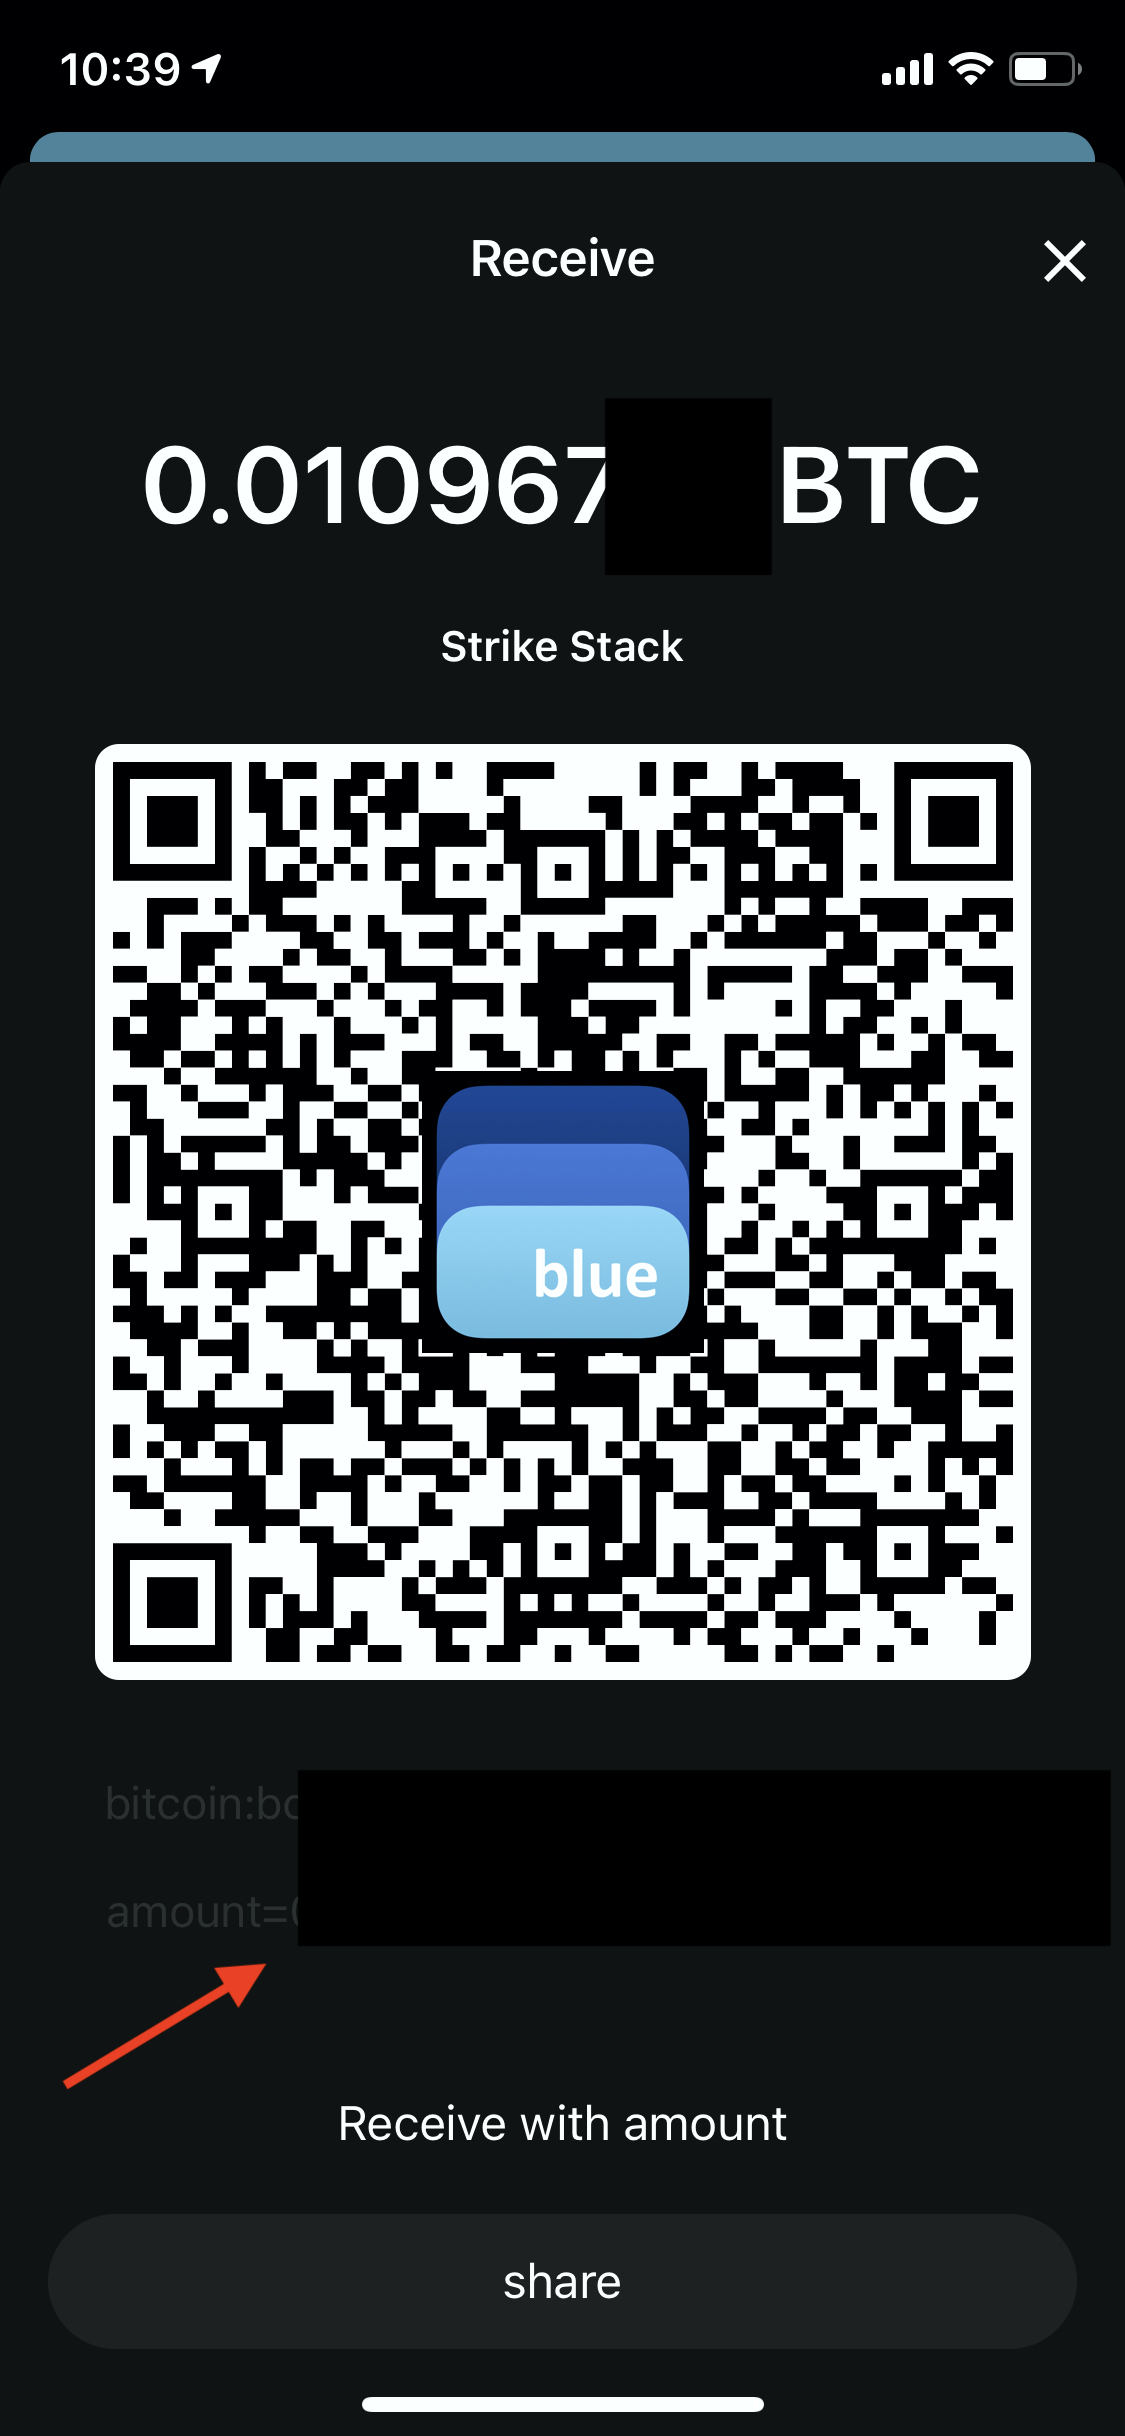
 #### **4.** Generate an invoice: "Receive with Amount".
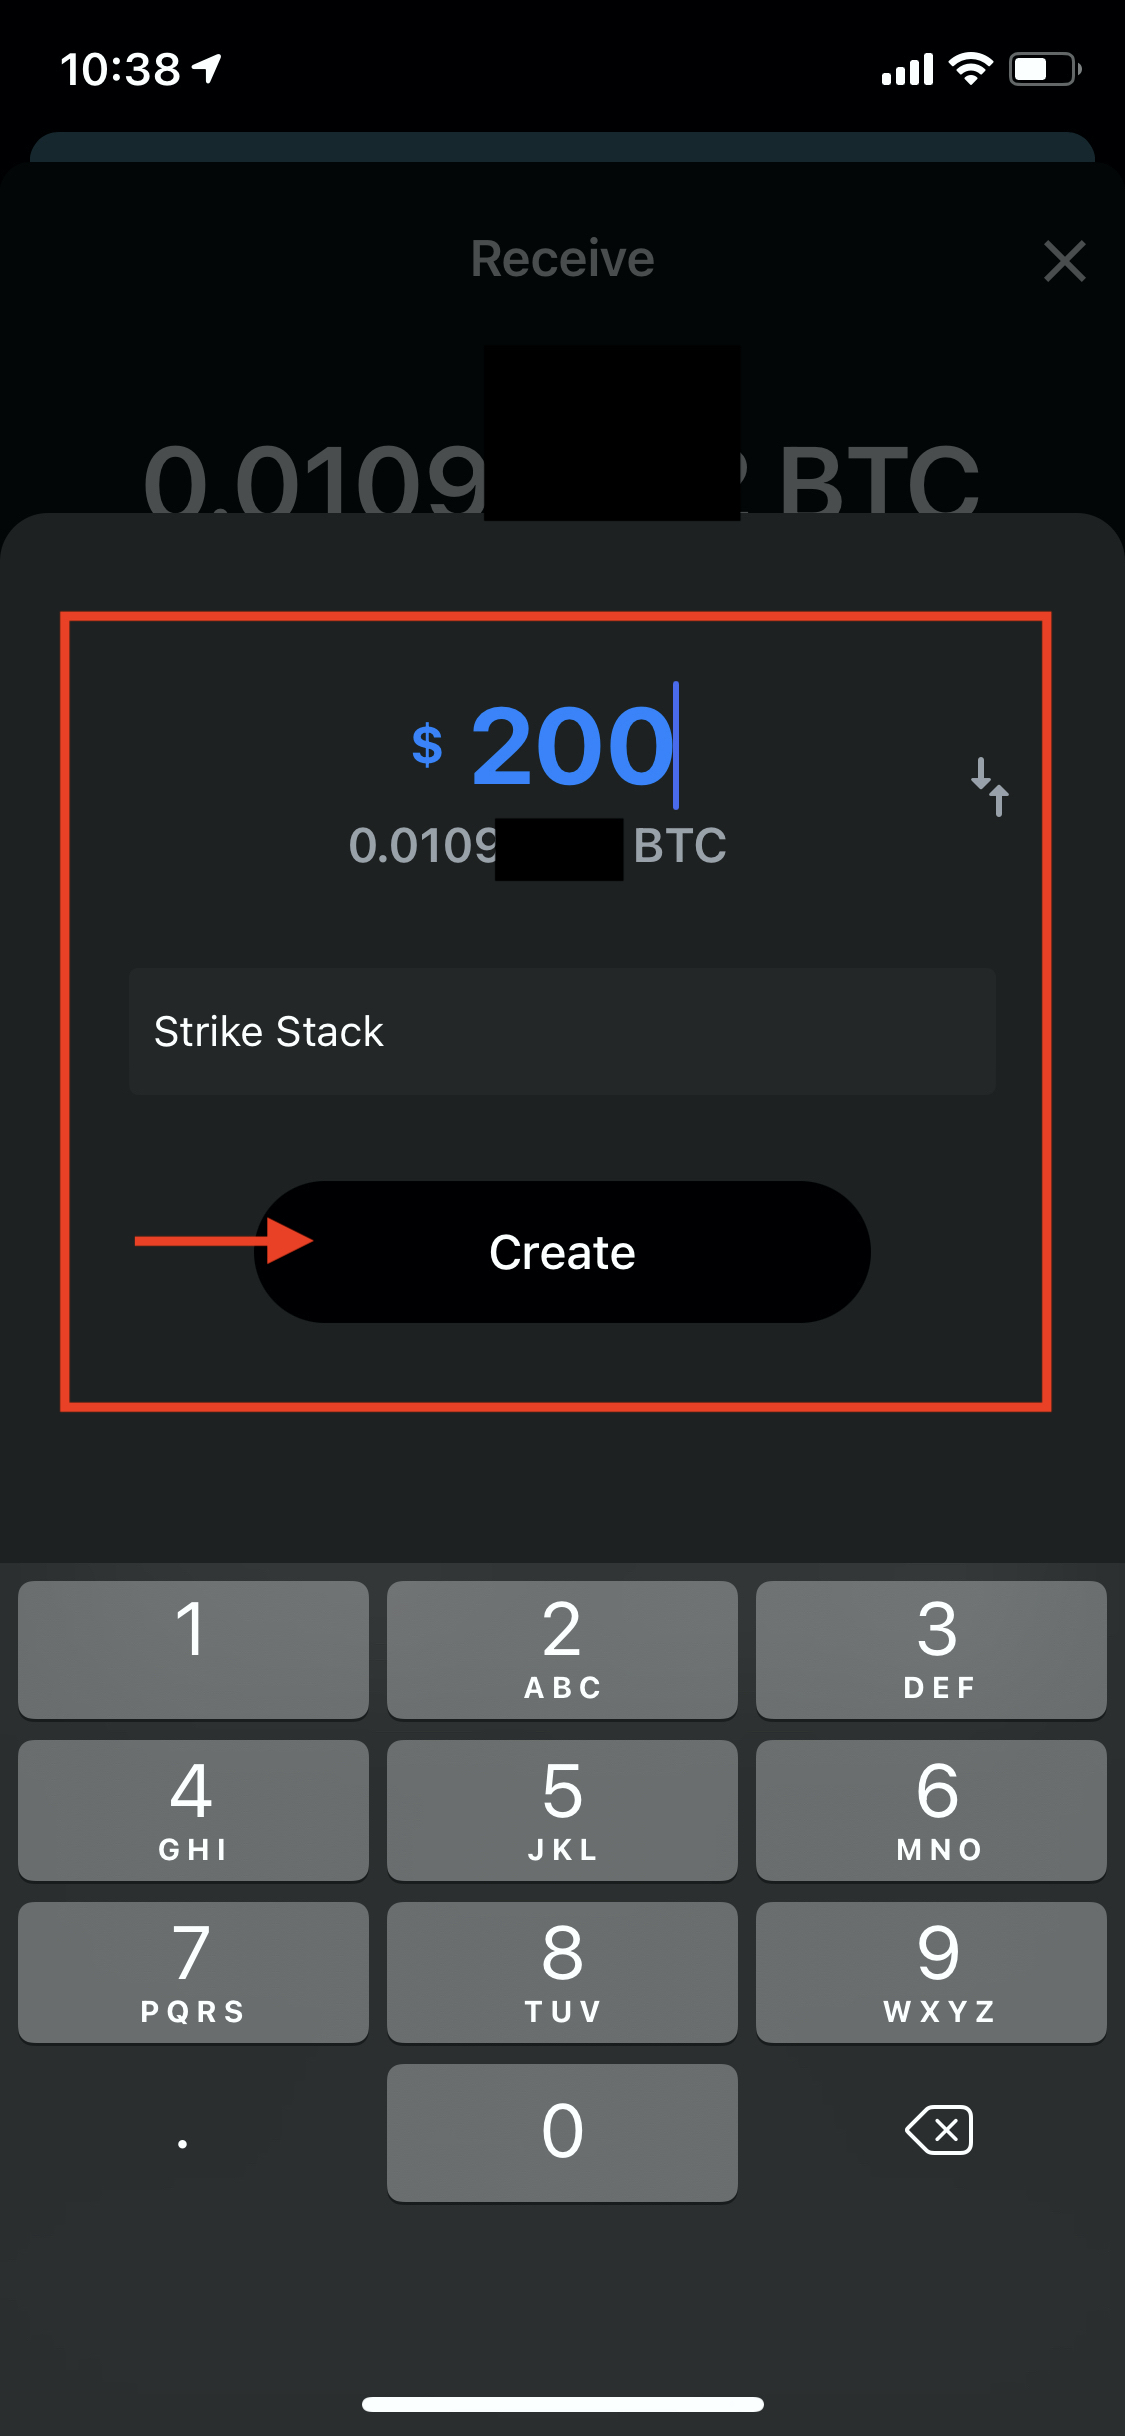
 #### **5.** Input the amount of bitcoin you wish to receive. I also like to give the invoice a label, i.e. "Strike Stack".
 #### **6.** Now that I've generated the invoice, I will copy the invoice to my clipboard.
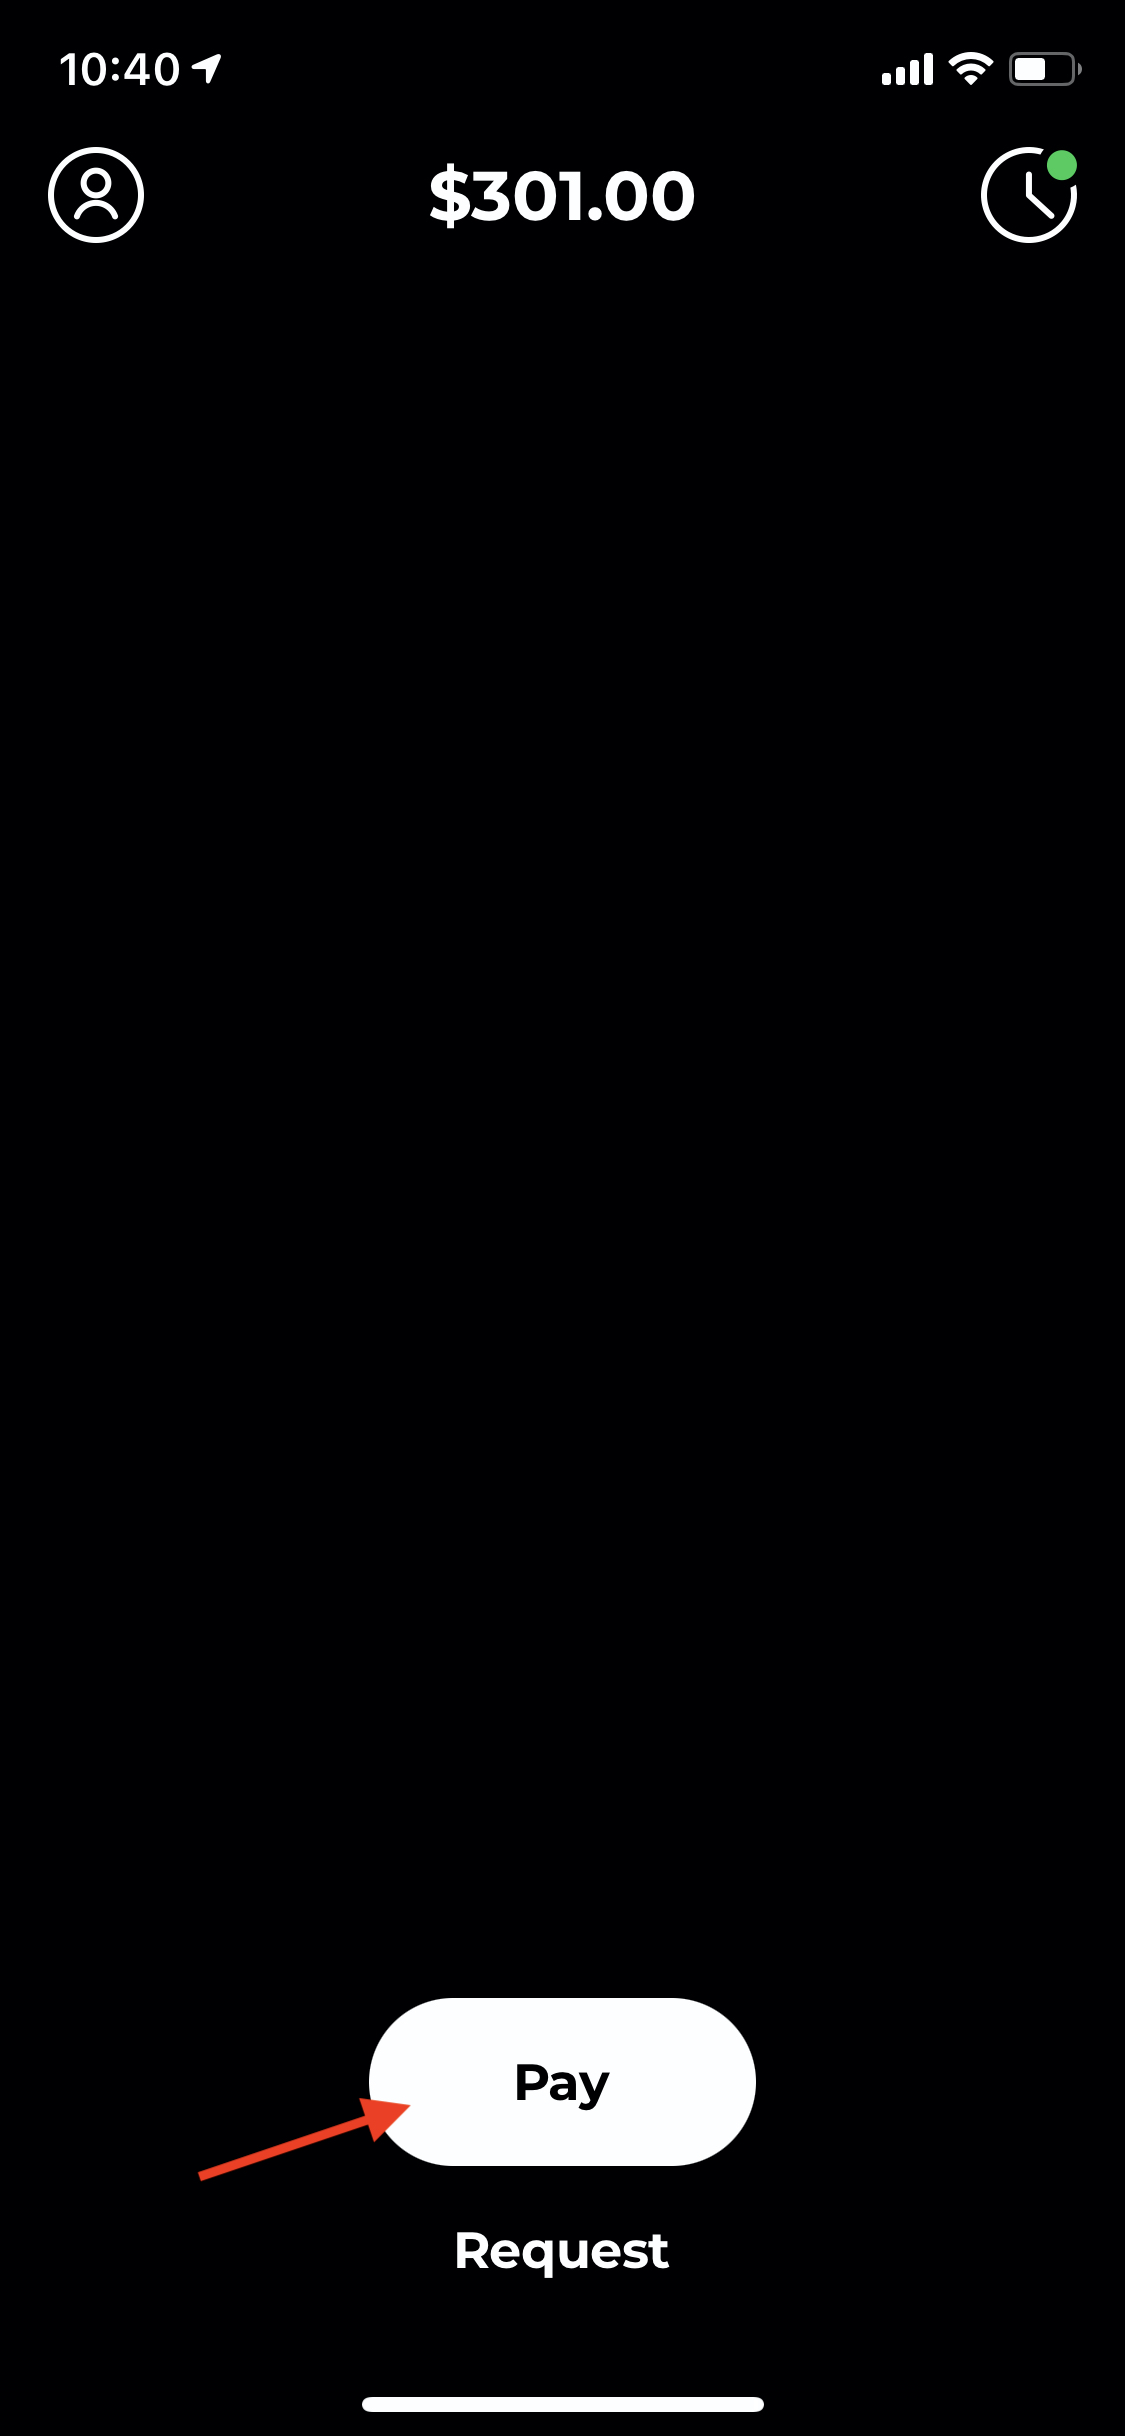
 #### **7.** Go back to Strike and select "Pay" to initate the fiat-to-bitcoin payment magic. Paste the invoice address from the previous step.
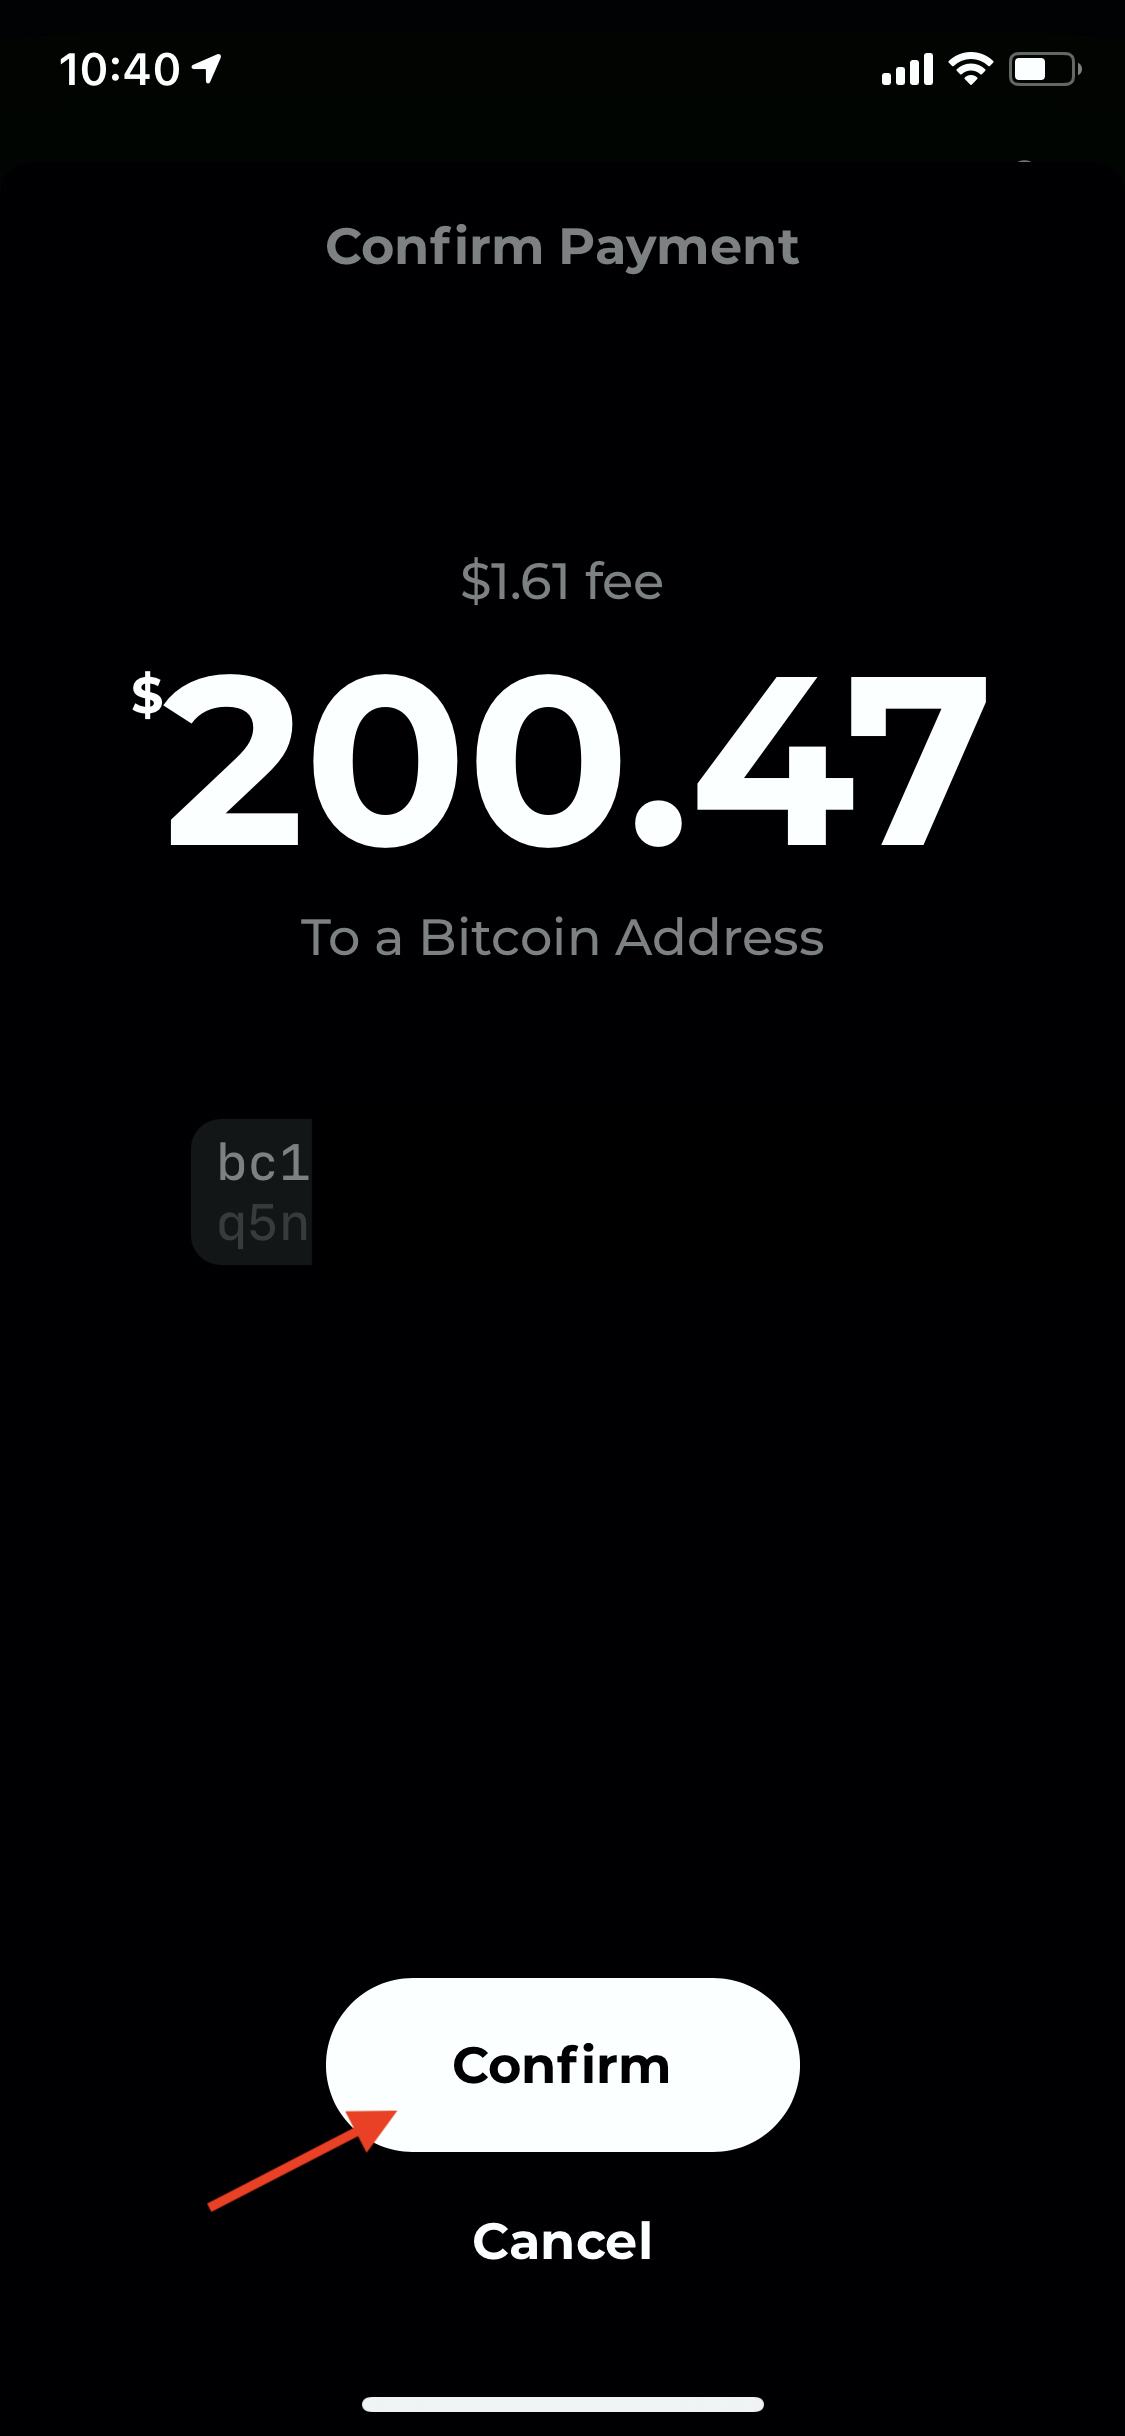
 #### **8.** Confirm the details.
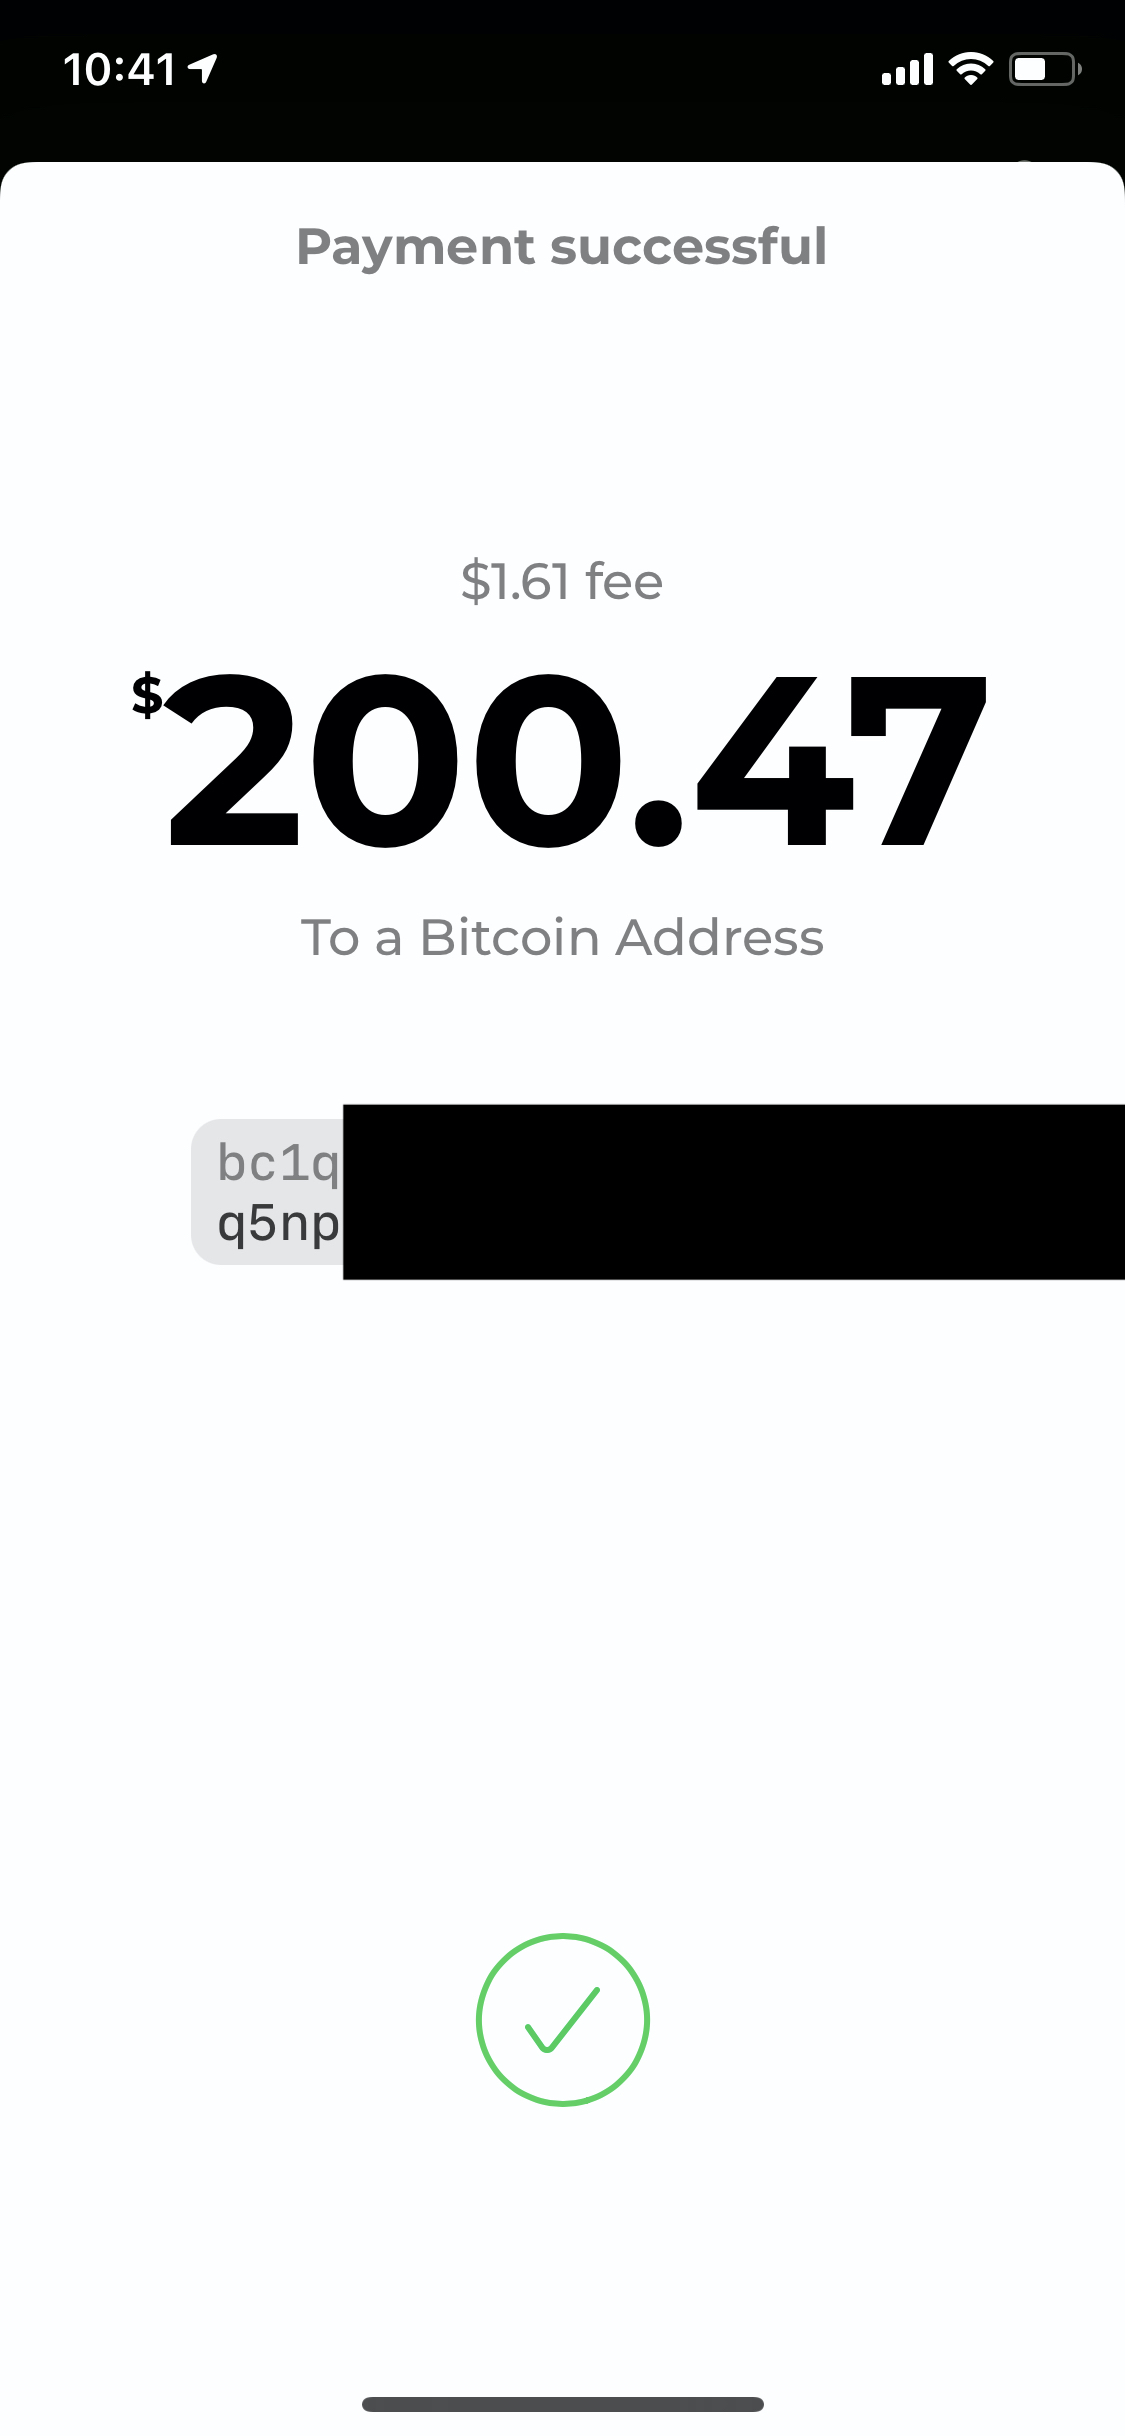
 #### **9.** You will receive a success message once the payment is broadcast.
 #### **10.** BlueWallet will notify you that the payment went through.
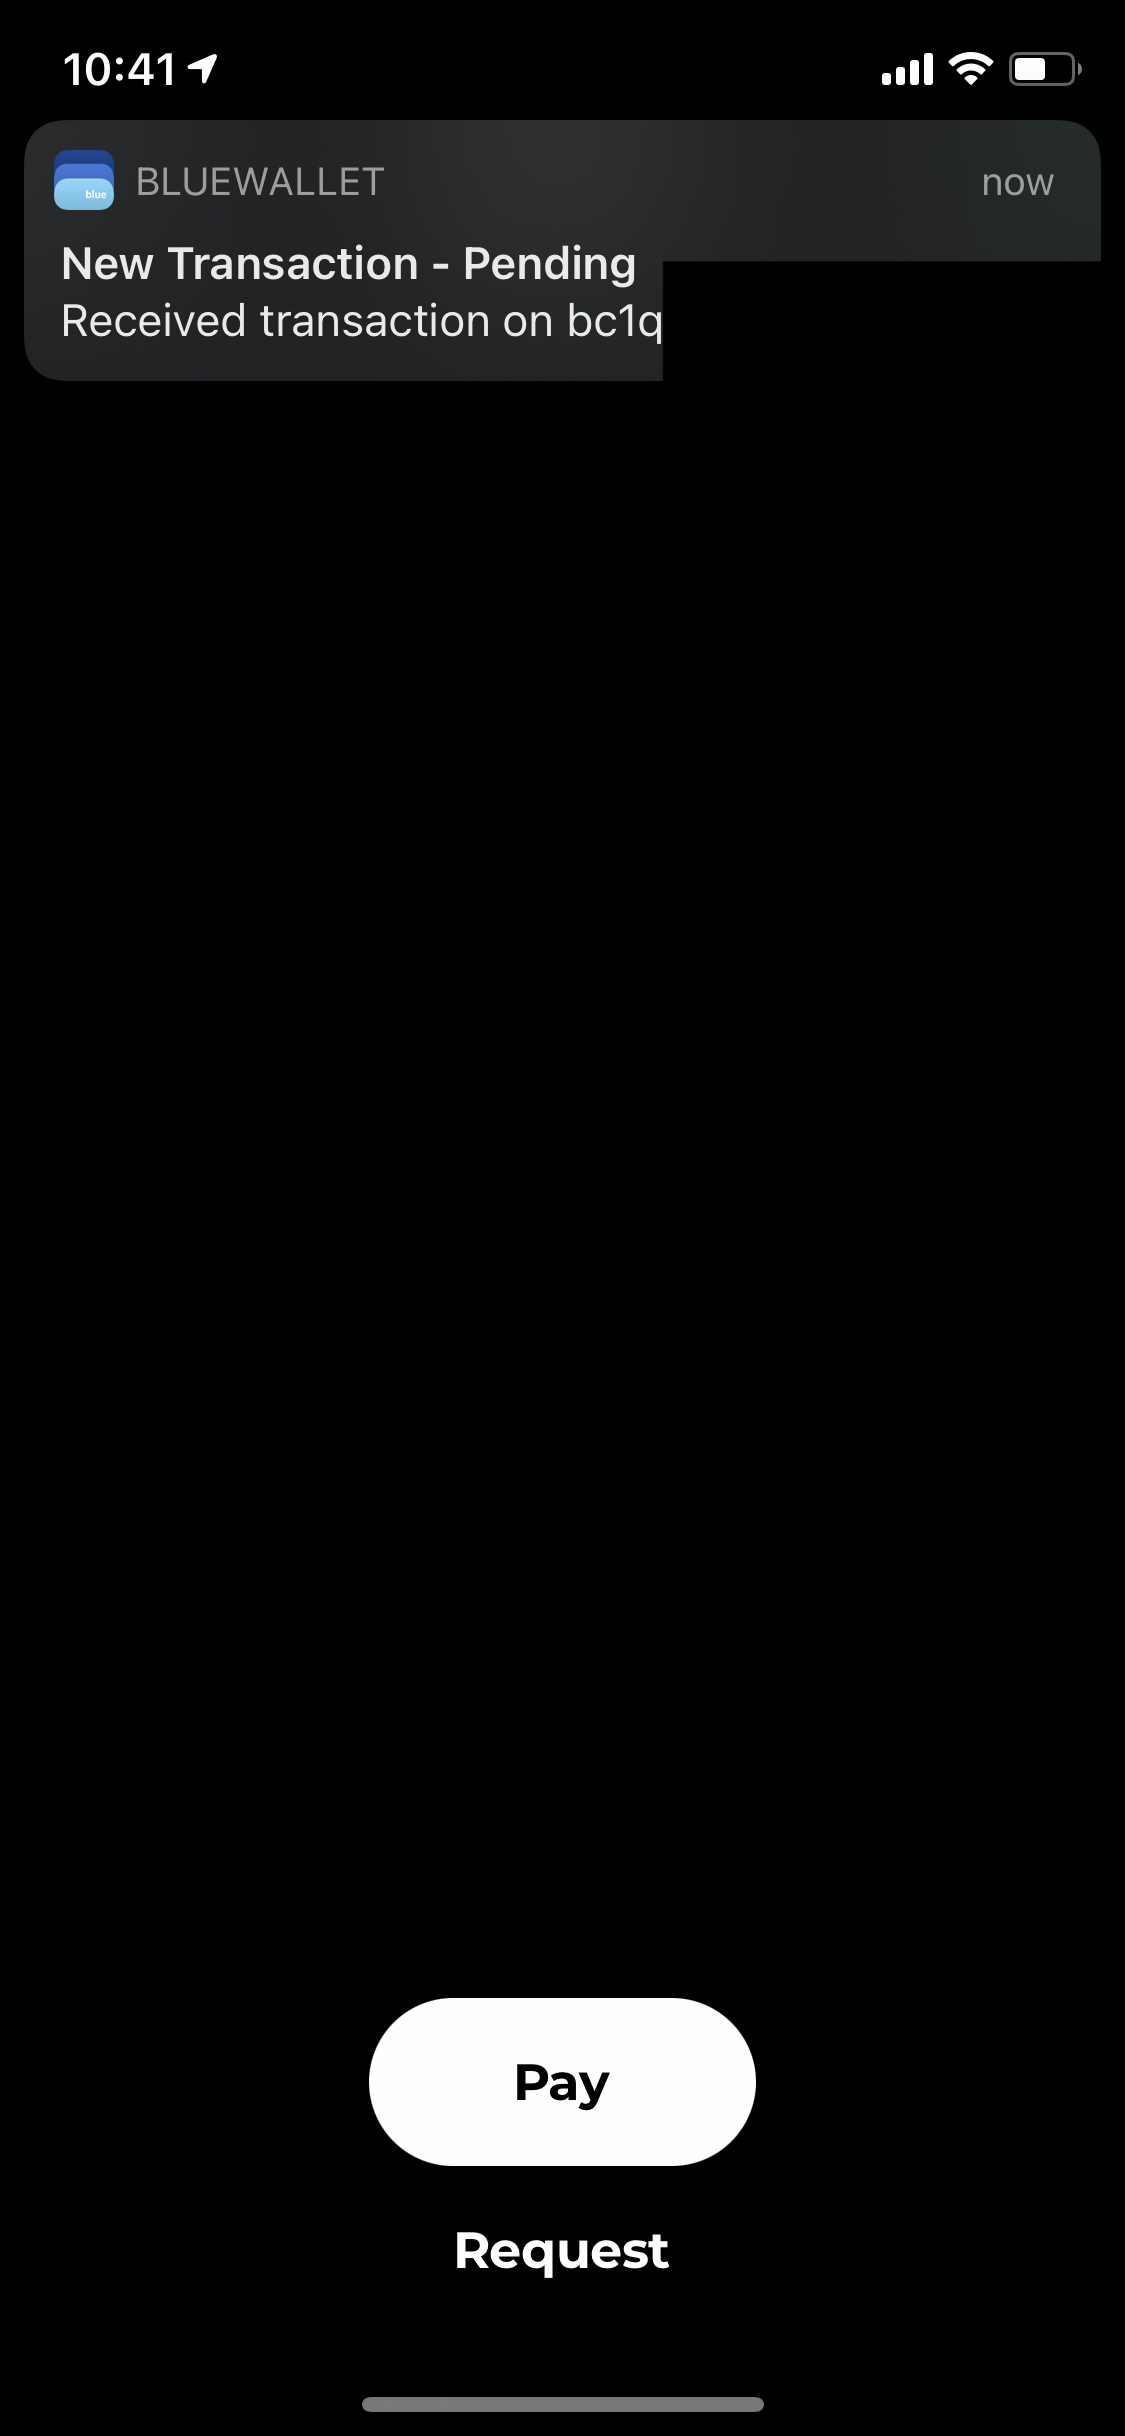 #### **11.** You can see the payment in BlueWallet pending confirmation.
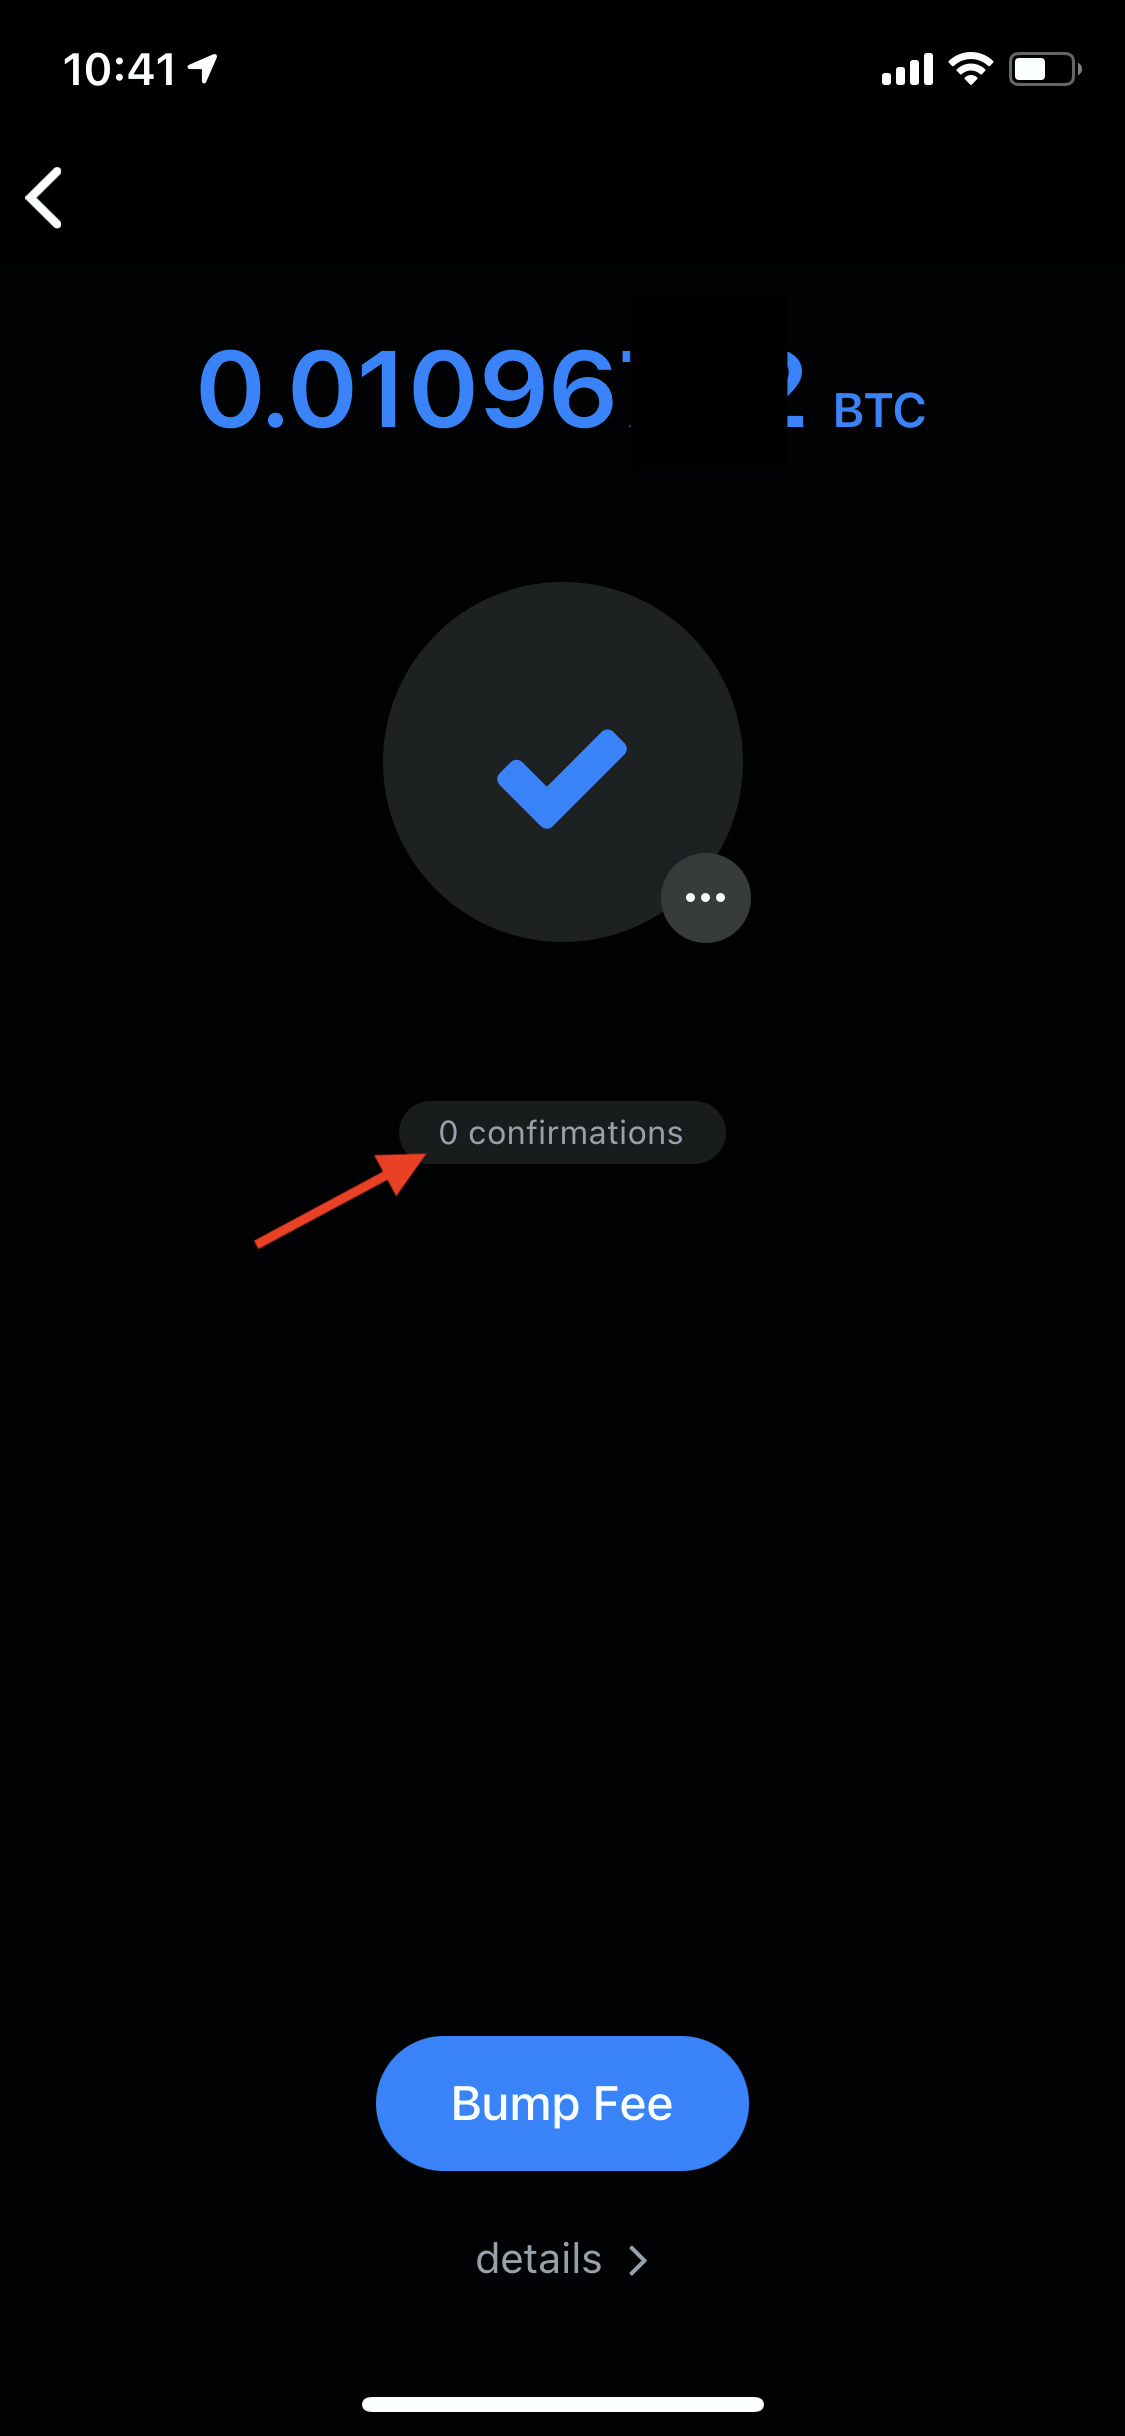 #### **12.** Wait a block or two (10 to 20 mins) — your payment is now confirmed.
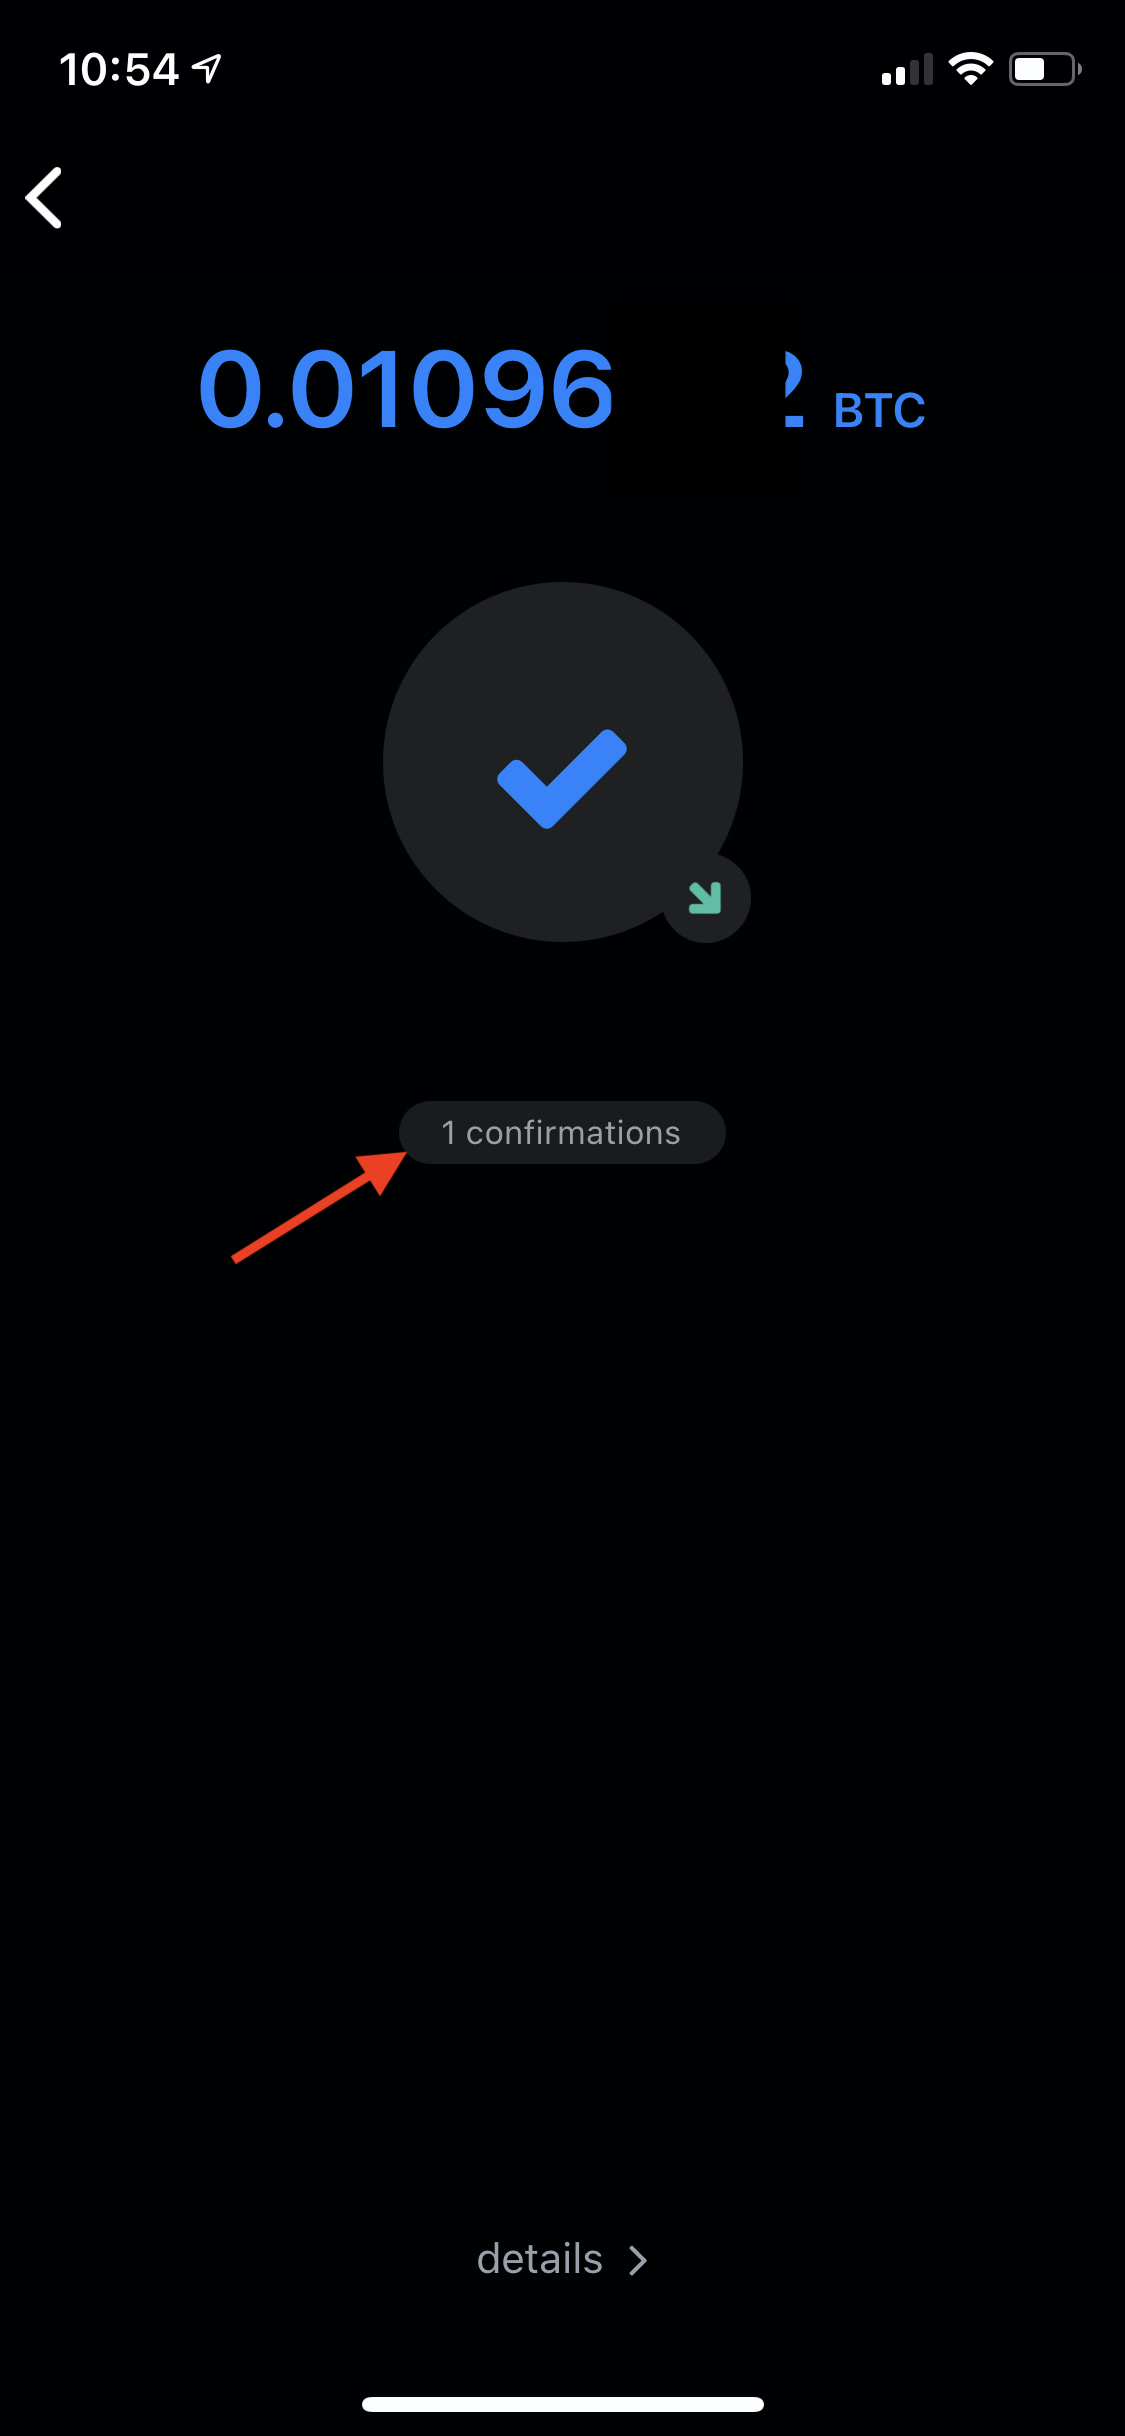
And just like that you have stacked sats, on-chain, using the magic of Strike.